How to add custom fonts to your WordPress website
#DesignerConfession
If there’s one thing us designers love more than a delicious colour palette it’s a gorgeous font, right?
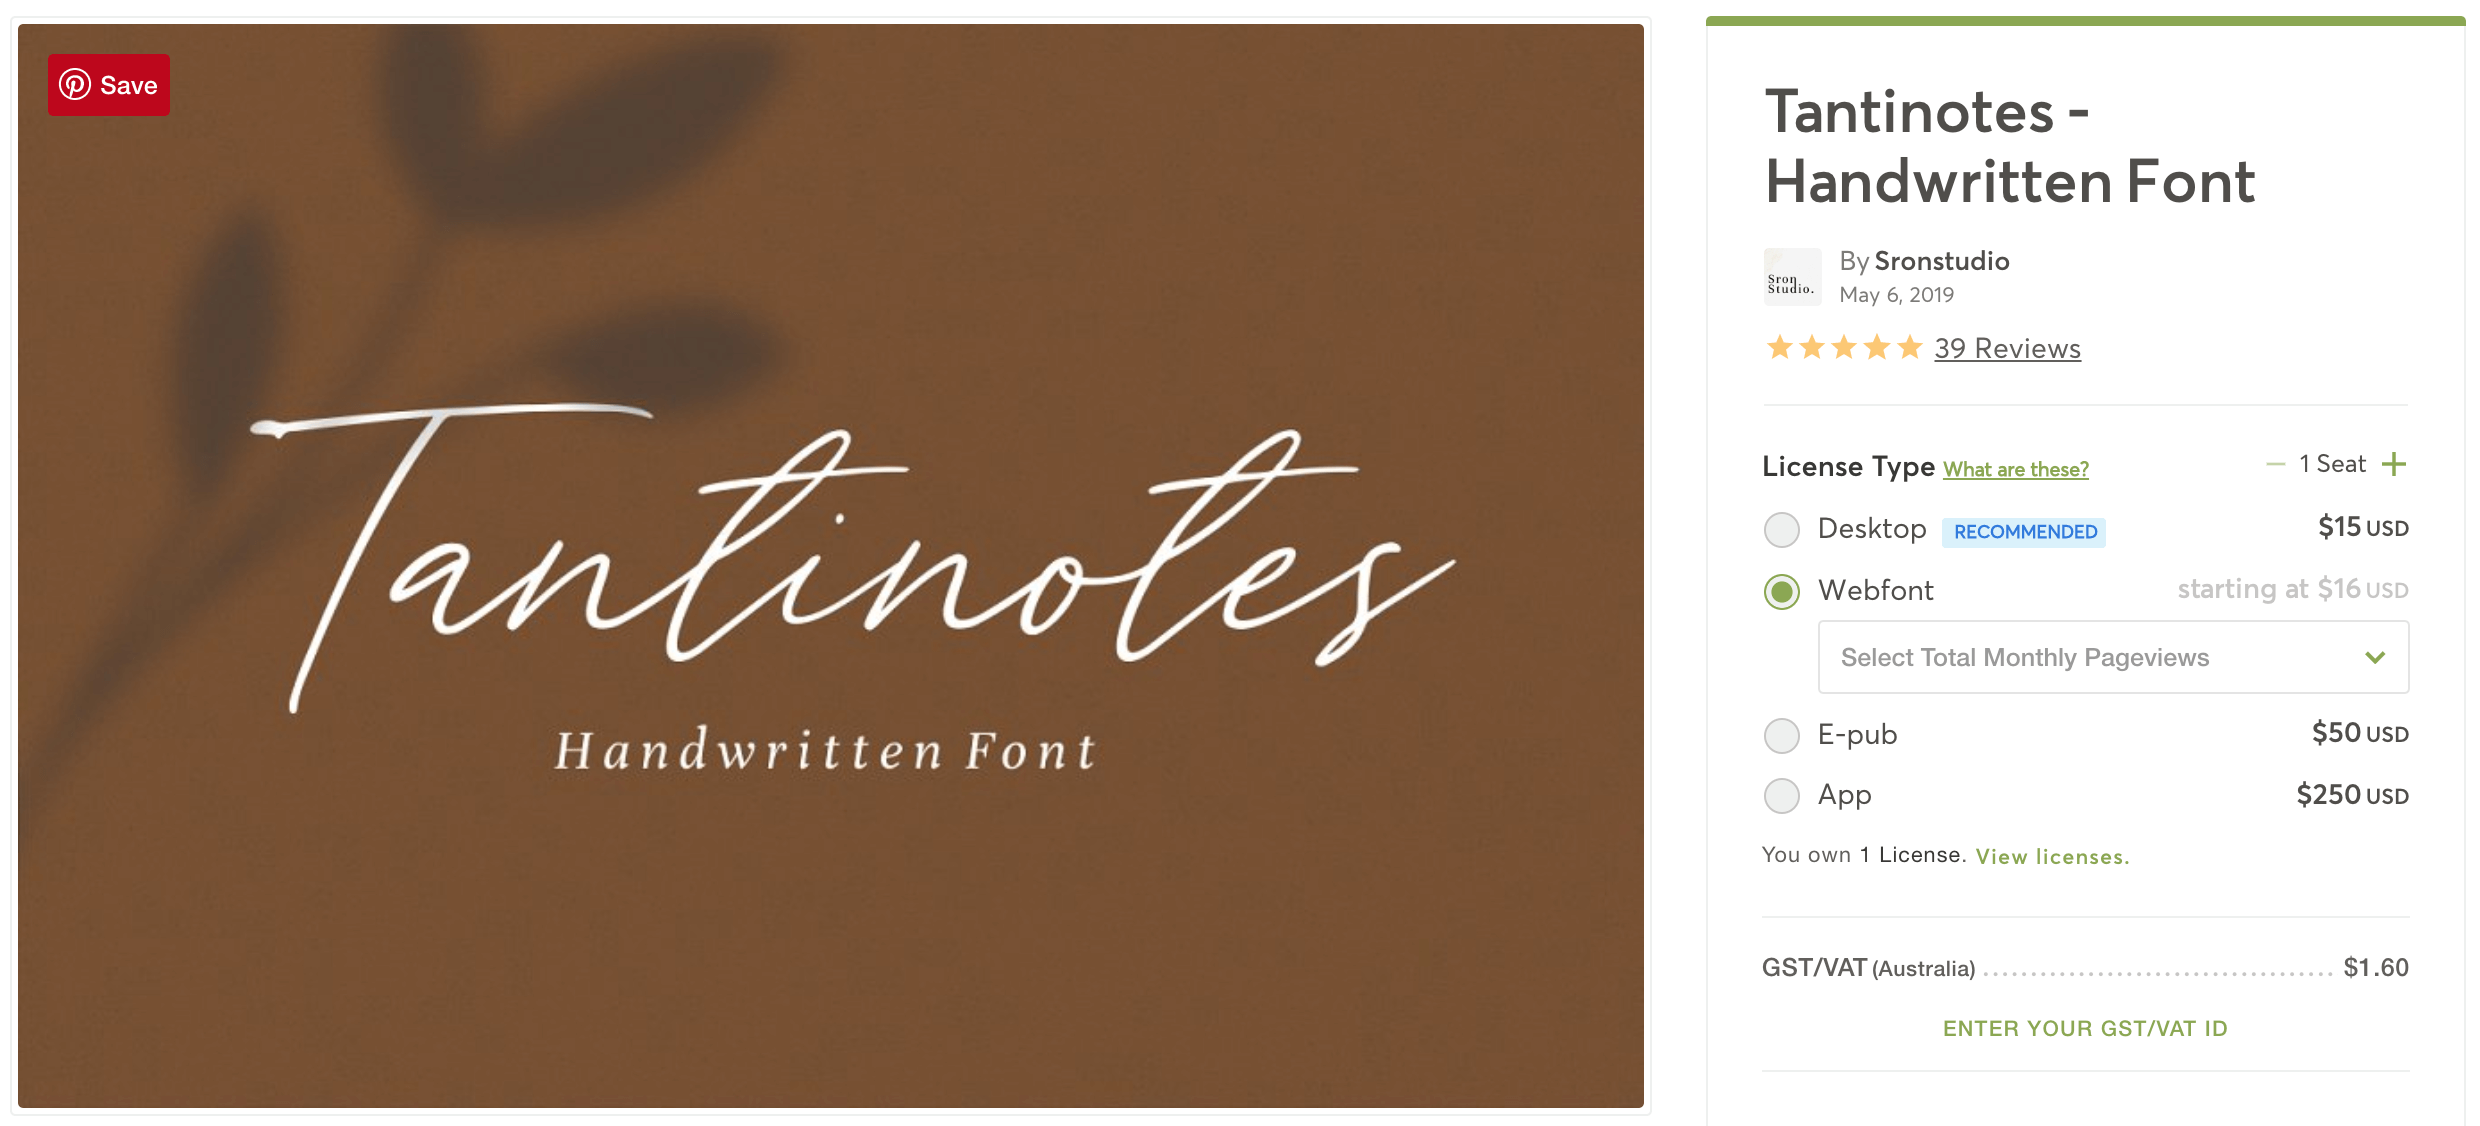
My favourites are handwritten script fonts like this one I purchased from Creative Market 👇
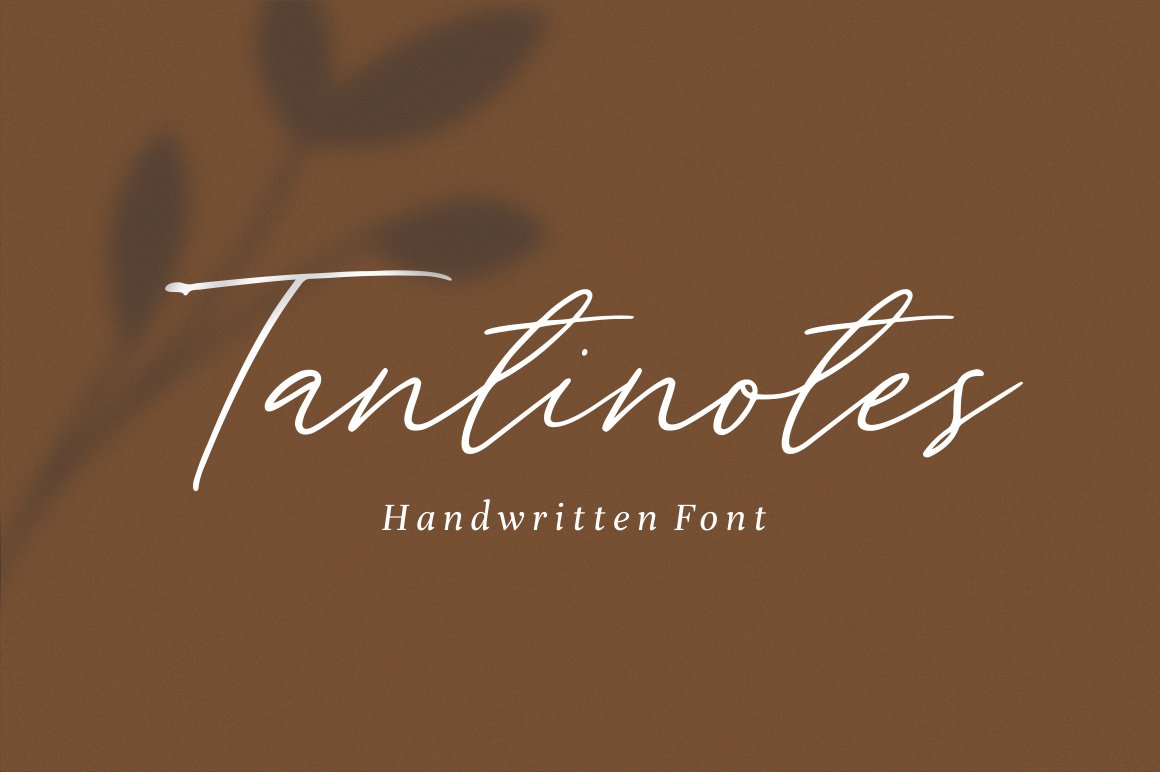
I love using them in my branding projects and web designs, but unfortunately, adding your latest custom font purchase to a WordPress website isn’t as easy as 1-2-3.
Or is it?
Due to some recent updates, if you’re using a WordPress page builder like Divi, Elementor or Beaver Builder, then it’s actually a piece of 🍰!
And I’m going to show you exactly how I did this 👇 in a few simple steps…

Installing Custom Fonts in WordPress: What you need before getting started
But before we dive in, here are a few things you’ll need.
If you’re not using a page builder like Divi, Elementor or Breakdance already, you’ll want to check them out! Trust me. Using a visual page builder like these bay boys make building websites as easy as using Photoshop or Illustrator. Plus, the methods I’m going to show you work with these page builders.
Next, you’ll need to make sure you have a license for your chosen font that allows you to use it on a website. Often if you have a desktop license this isn’t enough. On Creative Market for instance, you’ll need to purchase the Webfont license. NOTE: For the Pageviews option, up to 10K pageviews/month is sufficient for most small business websites.
Not to worry if you only received a couple of different file formats i.e. .ttf, .otf, etc. You can quickly and easily generate more files using a free online font converter tool like this one from Convertio.
Simply upload your font and convert your font so you have the following file types: .ttf, .otf, .woff and .woff2.
NOTE: At the time of writing this post, Divi only supports fonts in .ttf and .otf format, and I find I have issues with the .otf format for some reason too. So if you’re using Divi, and already have the .ttf file of your chosen font/s, then you may be able to skip the conversion step all together.
So now you have your font files all ready to go, it’s onto the method…
Adding Custom Fonts To Your Divi Website
If you’re Divi diva like me, you’re going to be doing cartwheels when I show you just how easy it is to add a custom font to your Divi website.
Recently, Elegant Themes — the heaven-sent web geeks who’ve gifted us all with Divi — made adding a custom font to our Divi sites oh-so-easy!
Here’s how to add a custom font to your Divi website:
STEP 1: From any module, under the Design tab, find the text you’d like to be in your custom font (i.e. Body text, H1, H2, etc.)
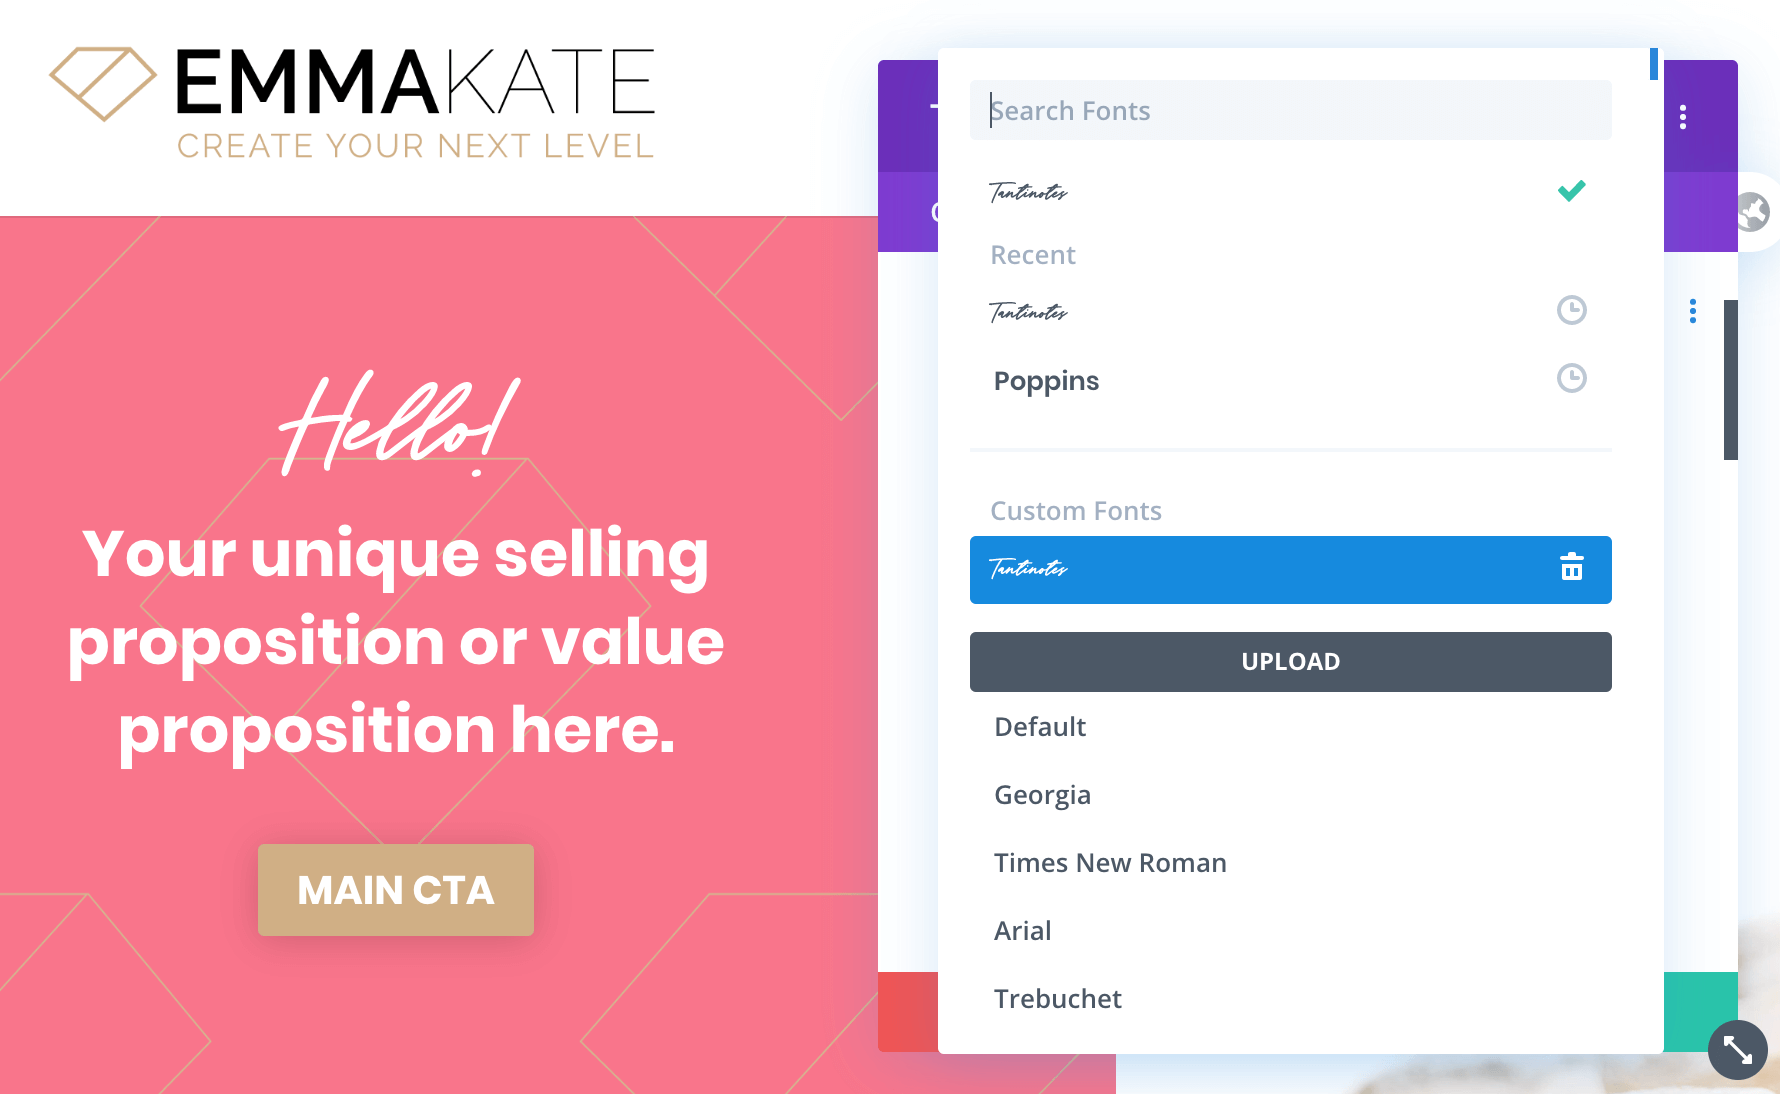
STEP 2: Click on the font dropdown box, then click the Upload button.
STEP 3: From the Upload Font screen: Name your font; Choose the font file/s from your computer ensuring they’re in one or more of the supported formats; For Supported Font Weights I generally tick All so I have all the weights to choose from; Click Upload.
NOTE: If you receive an error saying something like “Sorry, this file type is not permitted for security reasons.” or “Sorry, you are not allowed to upload this file type.” then no stress! I have a solution on how to fix this here.
STEP 4: Adjust the sizing, colour, etc. for your text, just like you would with any other font, and click the Save button.
Now you’ll be able to select your custom font from any font dropdown box within the Divi builder. It’s not just for Text modules either. You can add a custom font to your testimonials, buttons, sliders, to ANY module your creative heart desires.
See… piece of cake, right! 🍰😍
Adding a Custom Font To Your Elementor Website
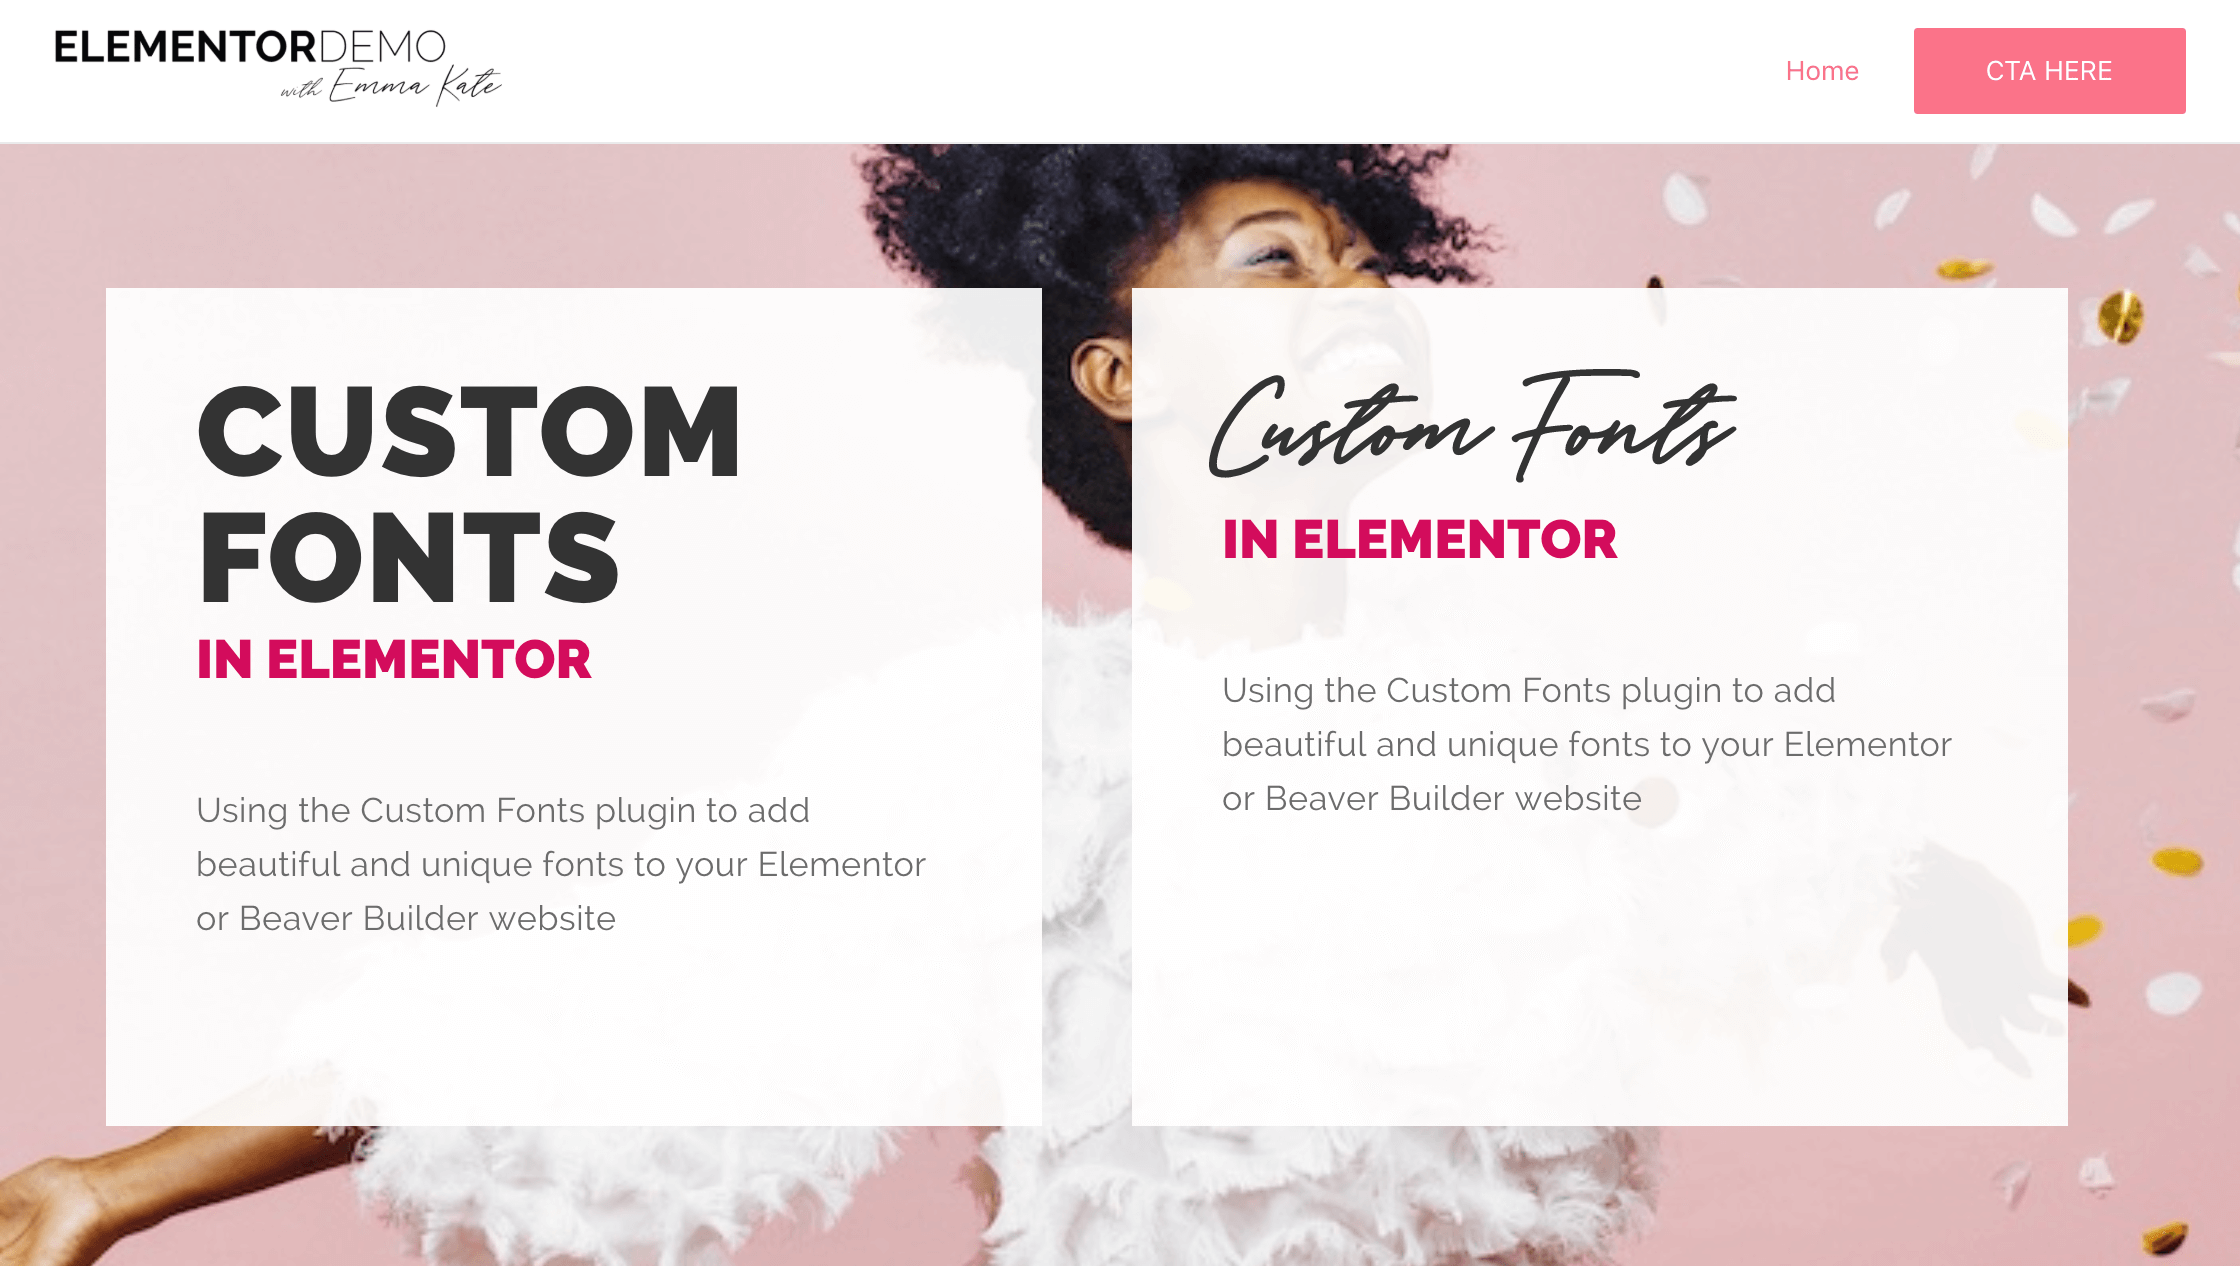
In Elementor, it’s super easy to upload your custom fonts too! Just head to the WordPress Dashboard > Elementor > Custom Fonts, and click ‘Add new’. When uploaded, all your new custom fonts will be available under Typography in all widgets that contains the text.
Adding a Custom Font To Your Beaver Builder Website
If you’re a Beaver Builder user, the process is a little different but it’s still easy peasy.
Here’s how to add a custom font to your Beaver Builder website:
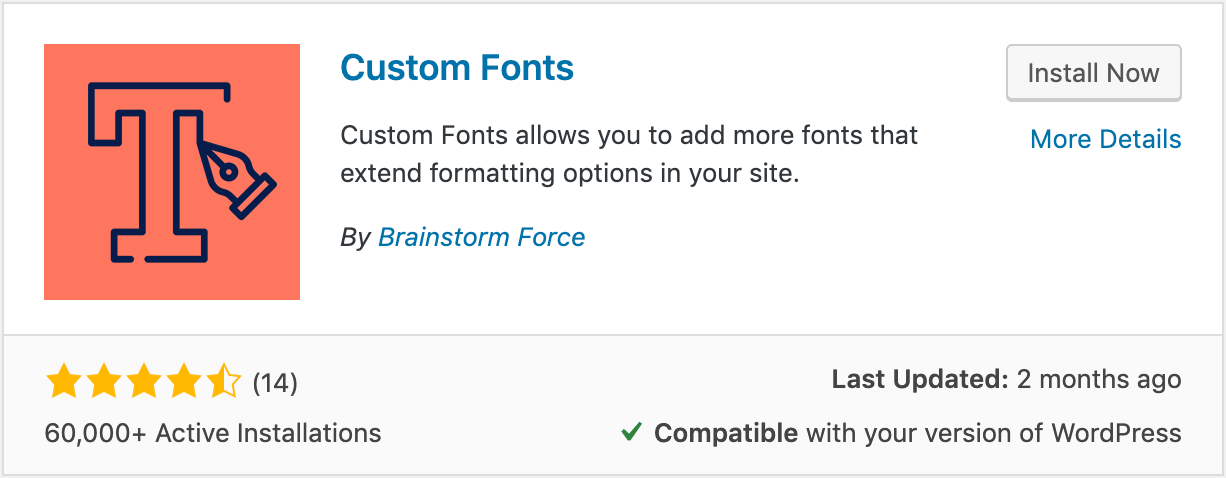
STEP 1: Go to Plugins > Add New > search for, install & activate Custom Fonts by Brainstorm Force
STEP 2: Once activated go to Appearance > Custom Fonts > then upload your font in all the different formats possible for the best browser compatibility.
And that’s it baby!
Now when you go to set the font for your text in your builder, your new fancy font will be in the list of fonts to choose from.
The Wrap Up
The huge range of Google Fonts come in built with all good WordPress themes these days. And although I love it — my love affair with Raleway and Playfair continues — it lacks a decent selection of handwritten and script fonts.
But now you can see just how darn easy it is to add whichever pretty font your heart desires to your website.
Below are the tools I use. If you give one of these methods a go I’d love to see what you come up with! Share a link in my private Facebook Group Designers Learning Web Dev so we can all get our #DesignNerd on gushing over your gorgeous fonts.
Tools I mentioned:
About the author
Hey! I'm Emma. I’m a graphic designer turned web designer on a mission to teach others how to build beautiful & professional websites with WordPress. 😍
Through mentoring and my online courses, I've taught thousands of awesome designers and other creatives how to build their own websites using my 9-step process.

